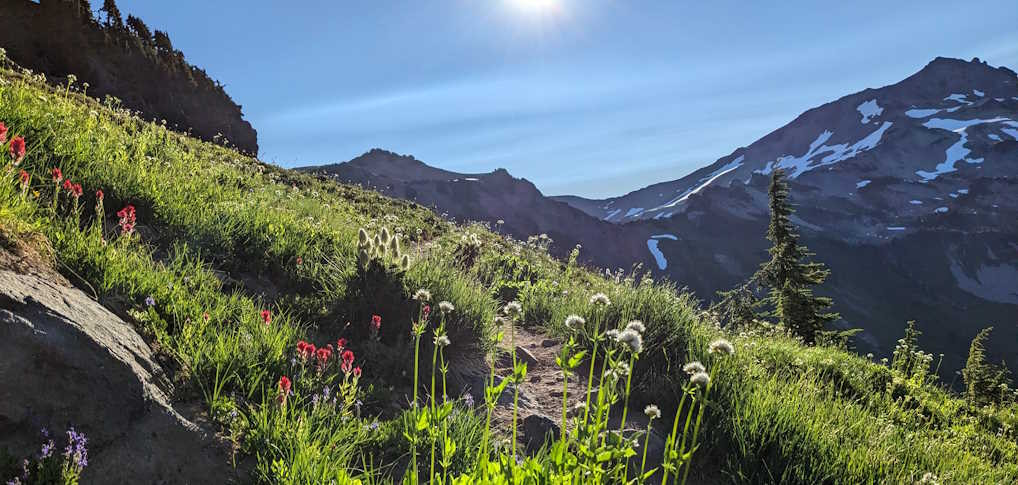
The Goat Rocks Wilderness sits between three volcanoes and in the summer it is a paradise for flower lovers. You won’t have to worry about being alone on this trail, but there is enough space to find a little solitude if desired.
The map below shows our route and includes photos of many of the campsites and water sources.
This article is still in process so please stop back or subscribe to our newsletter or Facebook page to make sure you don’t miss anything.
Adventure Guide
Trail Details
- Moderate to Hard Trail Options
- Easy - Moderate Road
- 12-20 mile loop
- 2700-5000 ft Elevation Gain
- Dog Friendly
- Best time to visit is summer through fall, check reports for conditions
- Need a Pass - US Forest Services (see Recreation Passes and Permits for options)
- Self-Issue Permit for overnight stays
- Bathroom at trailhead only
- No cell phone service
Hazards
- Some trail sections are narrow and/or rocky
- Mosquitos & Flies - summer
- Some stream crossings
- Tree falls to negotiate
- Navigation - Bring a map!
- Smoke and Wildfire - possible late summer to early fall (I carry a good mask)
Road/Parking
The road to the trailhead was long, dusty, and bumpy, but nice and wide and mostly pothole free, so any car should be able to make it if they take it slow. There are several trailheads down this road and no cell service so be sure you know where you are going and have offline maps. There is a large parking lot and lots of roadside parking. It is very popular, so be prepared for some extra walking.
There is a pit toilet and a picnic table at the Berry Patch Trailhead Parking Lot.
The Snowgrass Flats Trailhead is also an option for parking.
Trail Reports, Weather, & Info
WTA - Goat Ridge Trail Summary & Trip Reports
WTA - Goat Lake Trail Summary & Trip Reports
WTA - Snowgrass Flats Trail Summary & Trip Reports
Goat Rocks Wilderness General Info
Goat Rocks Wilderness Regulations
How To & Options
For this one you can just show up, fill out a permit, and off you go…but where?
Out and Back (shortest): You can opt to do either end of this trail as an out and back as a shorter option. You can also create lollipop routes on either side, by doing the Goat Ridge Lookout Trail or the Snowgrass Flat High Route (more details below).
Basic Loop: The very minimum is a little over 12 miles and 2700 ft elevation gain/loss (the Gaia elevation estimate below was a little off).
Add-Ons
The options are endless, but here are a few popular ones.
Goat Ridge Lookout: +0.5-1.0 mile and 200-300 feet
Highly recommended and could even be made into a loop for a short day hike. There are two lookout spurrs on this section and both require a little more climbing, but are well worth it in my opinion. The first one is steep and rocky, with a great view of Mount Adams and Mount Rainier, and the second one is more gradual, with nice views of the three volcanoes, Mount Rainier, Mount Adams, and Mount Saint Helens. If you want to pick just one I would go with the second.
Hawkeye Point: +1.4 mile and 750 feet
This was steep but spectacular with full 360 degree views of the mountains and you can even see down into Goat Lake. If you are not feeling up for the full challenge you can also get a nice view partway up here.
Snowgrass High Route: +1.5 mile and 450 feet
This option will take you on a short section of the PCT. We didn’t try it but it is supposed to be nice. You could also be make this into a nice lolypop loop if you want a shorter hike. We heard rave reviews about Old Snowey Mountain too, which is a little further north on the PCT.
Campsites & Amenities
Campsites: This area has more campsites than just about anywhere I have been! Most of the points on the map are campsites, and those are just the ones we saw! This is a busy area, so if you are here on the weekend I would keep an open mind and budget some time before dark to find a spot, since the area you plan on could be full, but if you keep walking you are bound to find something.
Bathrooms: There are no toilets, other than at the trailhead. Catholes are allowed away from water, but some areas are quite rocky so be prepared to pack out your waste if you camp in one of these area. Goat Lake in particular had very limited options.
Signage: There were a good number of signs, but there are a lot junctions and social trail, so please bring a map or your navigation method of choice with a backup. A few of the signs were damaged or hard to read.
Wildlife: We saw tons of small critters and the marmots were particularly curious about our food. Trees are limited, so a bear-safe container is highly recommended.
Campfires: There are stone fire rings at a good number of campsites. Please burn responsibly and adhere to burn bans.
What to Bring?
-
The Basics - Good to have on any hike
-
Footwear: Hiking shoes, preferably waterproof.
-
Sleeping Bag: I love my Marmot Trestles Elite Eco 20° similar bag, but since it was warm I tried out my new super light sleeping bag to save some weight. It worked and was a bit more roomy, which my dog appreciated since he found his way into the foot of it.
-
Sleeping Pad: I used an inflatable one with a built in “pump.” It is super compact and convenient, but a little crinkly.
-
Tent: A backpacking tent.
-
Camp Stove: You can survive the night on cold food, but it is always a nice treat to have something hot. A very basic stove will work here if you are sheltered from the wind, but you might not want to count on it for a real backwoods adventure with possible inclement weather. For an overnight like this I would just bring the stove, fuel, a pan for water, and a spork. Jetboil isn’t as versatile (mostly only boils water) but is much faster and works in most weather. Make sure you have matches because the built in lighters aren’t very reliable.
-
Food: As much as you will eat and then some just in case. You can go simple with something like ramen, dehydrated backpacking meals, or RiteRice. A little fancier and try to cook some real food, or super simple peanut butter and jelly or tuna. I like to do some wheat wraps with salami, mustard and cheese for lunch, and bring nuts, mini microwaved sweet potatoes, some figgy pops, and Trader Joe’s Nuts on a Date Bar for snacks. Dehydrated meals are super simple, but a dal packet and a rice packet or RiteRice also make a really quick tasty dinner (usually more than I can eat). Breakfast can be simple oatmeal or overnight oats. Tea is also nice and light and makes for a great warm beverage that is just as good as home.
-
Light: Make sure you pack a headlamp (plus batteries) and I like to have a small solar light.
-
Water Filter: As clear as that water looks, you still definitely want to filter it. I have a Sawyer Filter and it works well but is a little time consuming and it can be hard to fill the bag. A water bottle or using a large ziploc bag to scoop and fill the bladders can make it a bit easier. I recently upgraded to a Sawyer Gravity System and it’s bulkier but still nearly as lightweight and a little easier.
-
Sandals: I like to have a change of shoes so I can take off my boots and still have something to wear in the evening.
-
Extra clothes and layers: It may get cold at night so bring something warm.
-
Toilet supplies
-
Hiking Poles: These are great for stability, being able to utilize your arms for a little extra push, and checking for snakes. I trust Black Diamond Standard Poles and own Black Diamond Cork Grip Poles.
-
Gloves (optional): I like to wear liner gloves year round when I am using poles because they keep my hands from chaffing and the worst sunburn I’ve ever had on my hands was on the back around where the pole strap goes.
-
Bear Canister (optional): There containers are a bit safer than hanging your food (and there aren’t many place to hang food here), but make sure you practice opening them! I have a bit of trouble with BearVault especially when it is cold out. There are a few tricks, like using a credit card that can make it easier.
Product Links: I am not sponsored by any of the products I link to. If you choose to make a purchase from one of the links of a product I listed or any other item a small percentage will go back to me to fund this website, at no additional cost to you. The products I link to are either ones I have used or similar if those are not available. Thank you for your support.
More?
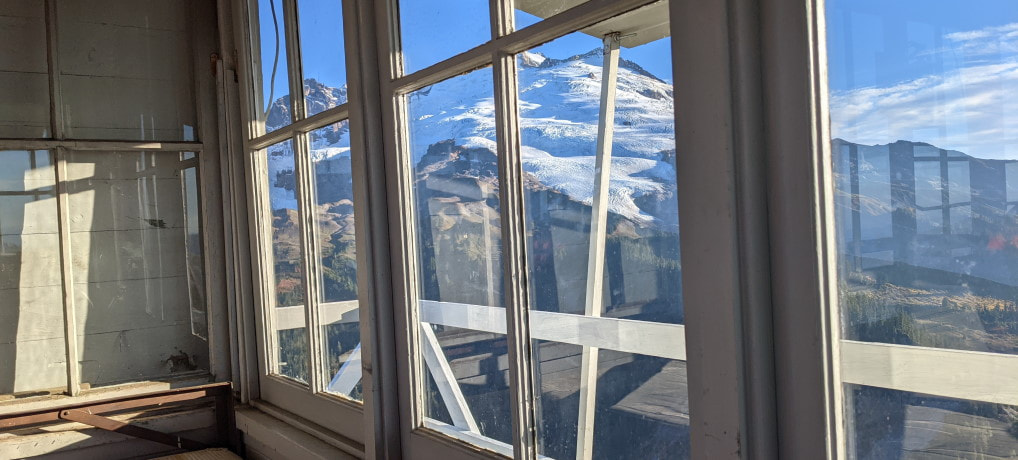
Stay the night in a fire lookout at Park Butte - Washington State
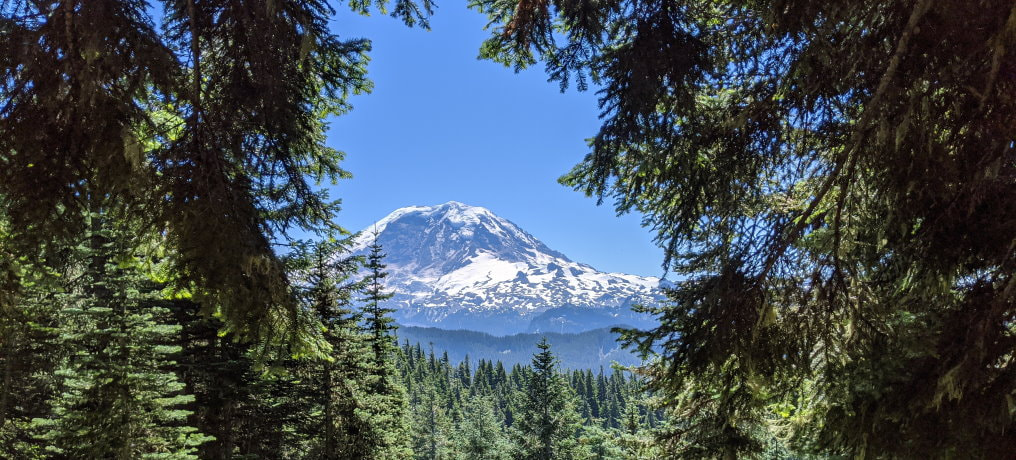
Check out more incredible Washington Hikes
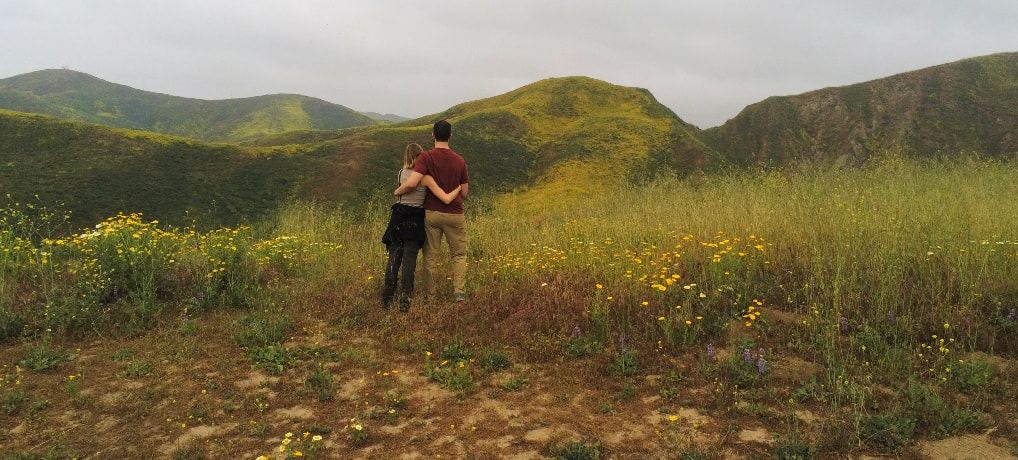
Experience the flowers in Southern California